Part 1: How Long Will Time Machine Preparing Backup Take?
The duration Time Machine takes to backup your Mac depends on a couple of aspects: the amount of disk space and the frequency of the backup. However, in general, Time Machine preparing backup doesn’t take that long. Due to following reasons, however, this process may take somewhat longer than usual.
- The capacity of your hard drive is exceptionally large.
- Your Mac hasn’t backed up for a long time (or you have never backed up it).
- You have done significant changes to the hard drive or added large number of new files since the last backup.
If none of the above is the case, Time Machine preparing backup shouldn’t take that long.
Part 2: Check Whether the Preparation Process is Stuck
By following the below-mentioned topics, you can easily see if the preparation of backup is stuck.
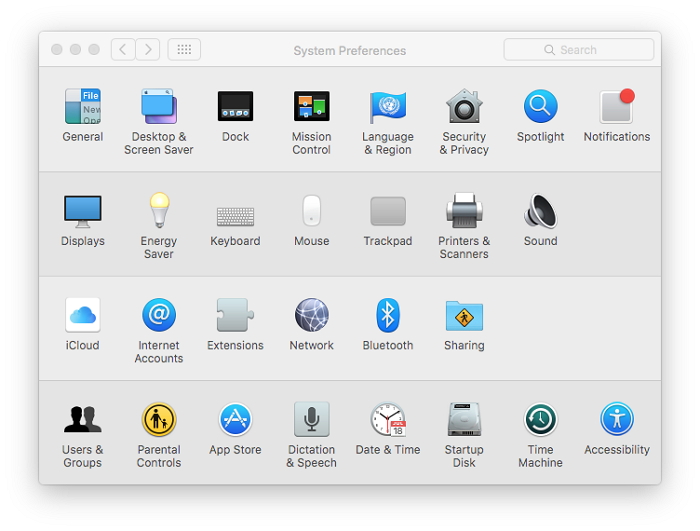
- Go to System Preferences (you can either click on the Dock icon or go to “System Preferences” located in the Apple menu).
- Now, you should open Time Machine preference pane. You can do this simply by clicking on the “System”.
- Now, you will be able to see a message called “Scanning (#) items”, Preparing (#) items or “Preparing backup”. In fact, this message can vary depending on the OS X version you are using.
- Gradually, the number of items will increase no matter even if the process operates pretty slowly. However, if the number of items within the message stay same for more than half an hour, that can be a Time Machine stuck on preparing backup. As long as the digits are changing, there is no issue with Time Machine.
- If you can notice that the number of items is increasing, you shouldn’t do anything; just be patient and let the process go on. So, whenever you believe that the Time Machine stuck on preparing backup, it is recommended to wait for another 30 minutes and be sure about the issue.
Note: Obviously, the duration the Time Machine would take should vary based on facts like the amount of information stored, the overall size of the backup and the connection speed (between backup device and Mac).
However, the time it takes to prepare your backup can take longer due to following reasons.
- An interruption occurred during the last Time Machine backup.
- You didn’t shutdown your Mac properly last time.
- You have disconnected a disk without ejecting it.
- A recently updated software.
In addition to that, some antivirus programs too can delay the backing up process. To avoid this, you can make sure that the backup folder is exempted from scanning with the virus guard.
Phase 1: Stop the Frozen Backup Progress
- To do this, you should open the “Time Machine” settings and go to System Preferences.
- Then, you should click on the small ‘X’ mark and stop the ongoing process.
- If the backup progress bar disappears and you don’t see “Preparing backup” option anymore, you can go to the next step.

Phase 2: Find and Remove the “inProgress” File
- After getting the backup process stopped, you should remove ‘inProgess’ file.
- To do this, you should open the Time Machine drive within the Finder. Then, go to the folder called “Backups.backupd”.
- Open the subfolder within this folder and put it into “List View” mode.
- You can sort the directory by “Date Modified”. Now, locate the file that has .inProgress extension. The file name starts with digits that represent a date in the format of YYYY-MM-DD. You can simply delete it.Jihosoft iPhone Backup Extractor Extract and recover all types of data from iPhone backup files, such as camera roll photos, videos, SMS, contacts, reminders, WhatsApp, and etc.
- Gihosoft Free iPhone Data Recovery is a professional iPhone Data Recovery software to get back all your lost text message, photo, video, call history, note, contact and more from iPhone/iPad/iPod Touch.

Phase 3: Restart Your Mac
- Now, you should restart the Mac. Make sure the Time Machine drive is connected to your Mac. This is a pretty simple process.
- Click on the Apple menu and select “Restart”.
- The Mac will boot now and wait for the Spotlight to run.

Phrase 4: Initiate a Backup
- Go to the Time Machine icon and select “Back Up Now” option.
- Now, you will get the “Preparing Backup” message, which will disappear soon.

Hiç yorum yok:
Yorum Gönder